
Extender Troubleshooting Steps
Welcome to mycloudpoint.site — your reliable guide for WiFi extender setup and configuration. With clear steps and simple instructions, you can boost your wireless coverage, remove dead zones, and enjoy uninterrupted internet across every corner of your home or office.
Setup Wizard – WiFi Extender Installation
Follow these steps to set up your WiFi extender easily:
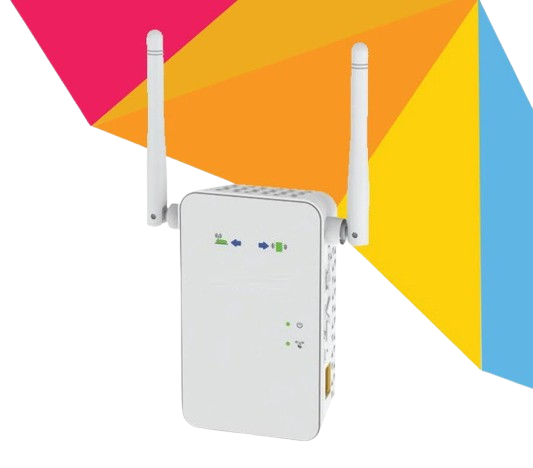
Step 1: Power On
Plug the extender into a wall outlet close to your router.
Wait until the power indicator turns solid.
Step 2: Connect to Extender WiFi
On your device, open WiFi settings.
Select the extender’s default network name (SSID).
Step 3: Open the Setup Page
Launch any browser and visit:
mycloudpoint.site
Step 4: Configure Settings
Enter default login details:
Username: admin
Password: password
Choose your main WiFi network and enter its password.
Assign a new name for your extended WiFi network.
Click Finish to save.
Step 5: Reposition the Extender
Move it midway between your router and the weak zone.
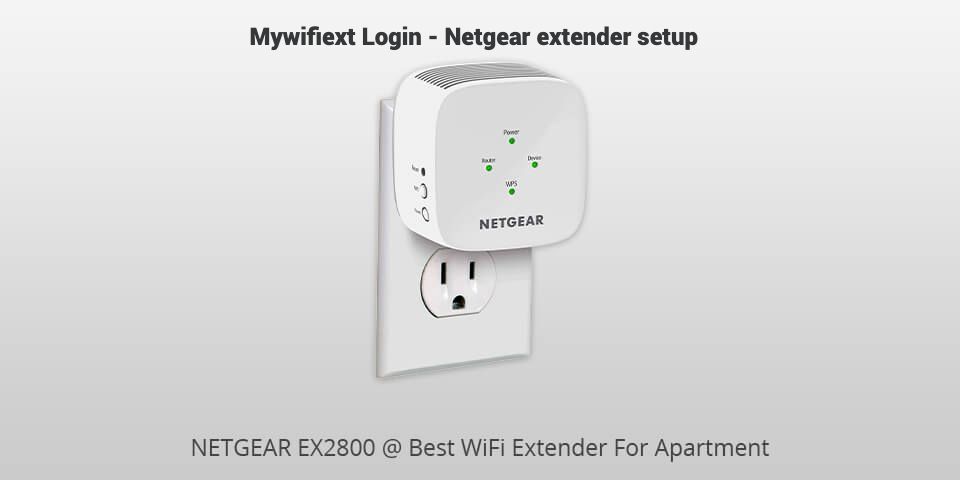
Check the signal light (green or amber = good connection, red = weak).
Login Access – Extender Dashboard

To manage your extender’s settings:
Connect your device to the extender’s WiFi.
Open your browser and type:
mycloudpoint.siteLog in with your username and password.
Adjust WiFi names, change passwords, or update firmware anytime.
Connection Fix – Troubleshooting Guide
Problem 1: Setup Page Not Loading
Ensure your device is connected to the extender’s WiFi.
Clear your browser cache or try another browser.
Problem 2: Extender Not Connecting to Router
Place the extender closer to the router during setup.
Double-check your WiFi password.
Restart both devices.
Problem 3: Internet Slow After Setup
Keep the extender at an optimal distance from the router.
Avoid interference from devices like microwaves.
Use an Ethernet cable if supported.
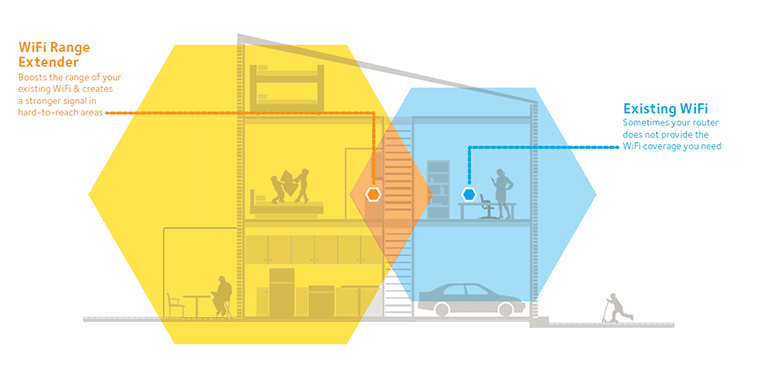
WiFi Insights – How Extenders Work
WiFi extenders capture the existing wireless signal and extend it into low-signal areas. By bridging weak spots, they help create a smooth internet experience across multiple rooms and larger spaces.
Accessing the Extender's Settings Later
To change your settings:
1. Connect to your extended Wi-Fi network.
2. Open a browser and navigate to http://www my wifi ext net.
3. Log in using your extender’s credentials.
4. From the dashboard, you can change network names, passwords, or channels.
Troubleshooting Common Issues at Mycloudpoint.site
If your extender is not performing as you anticipated, try:
- Login Page Not Opening – Ensure you are on the network of the extender and use another browser.
- Weak Signal – Bring the extender nearer to the router.
- Slow Speeds – Do not place it close to thick walls, microwaves, or metal objects.
- Frequent Disconnections – Look for firmware updates in the settings of the extender and try changing the Wi-Fi channel.
- Forgot Password – Press the reset button on the device and reinstall it following the steps mentioned above.
Knowledge Hub – FAQs
Q1: What is mycloudpoint.site?
It’s the setup page for configuring and managing WiFi extender settings.
Q2: Why can’t I open the setup page?
Make sure you’re connected to the extender’s WiFi network before entering the URL.
Q3: How do I reset the extender?
Press and hold the reset button for 10 seconds until the power light blinks. Then restart the setup process.
Q4: What are the default login details?
Username: admin
Password: password (case-sensitive)
Q5: How do I update firmware?
Login at mycloudpoint.site, open Firmware Update, and follow the steps shown on the screen.